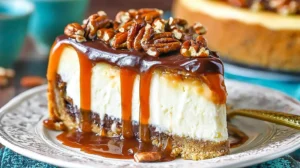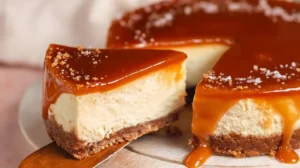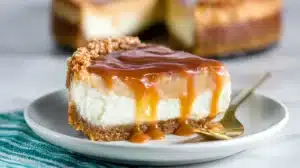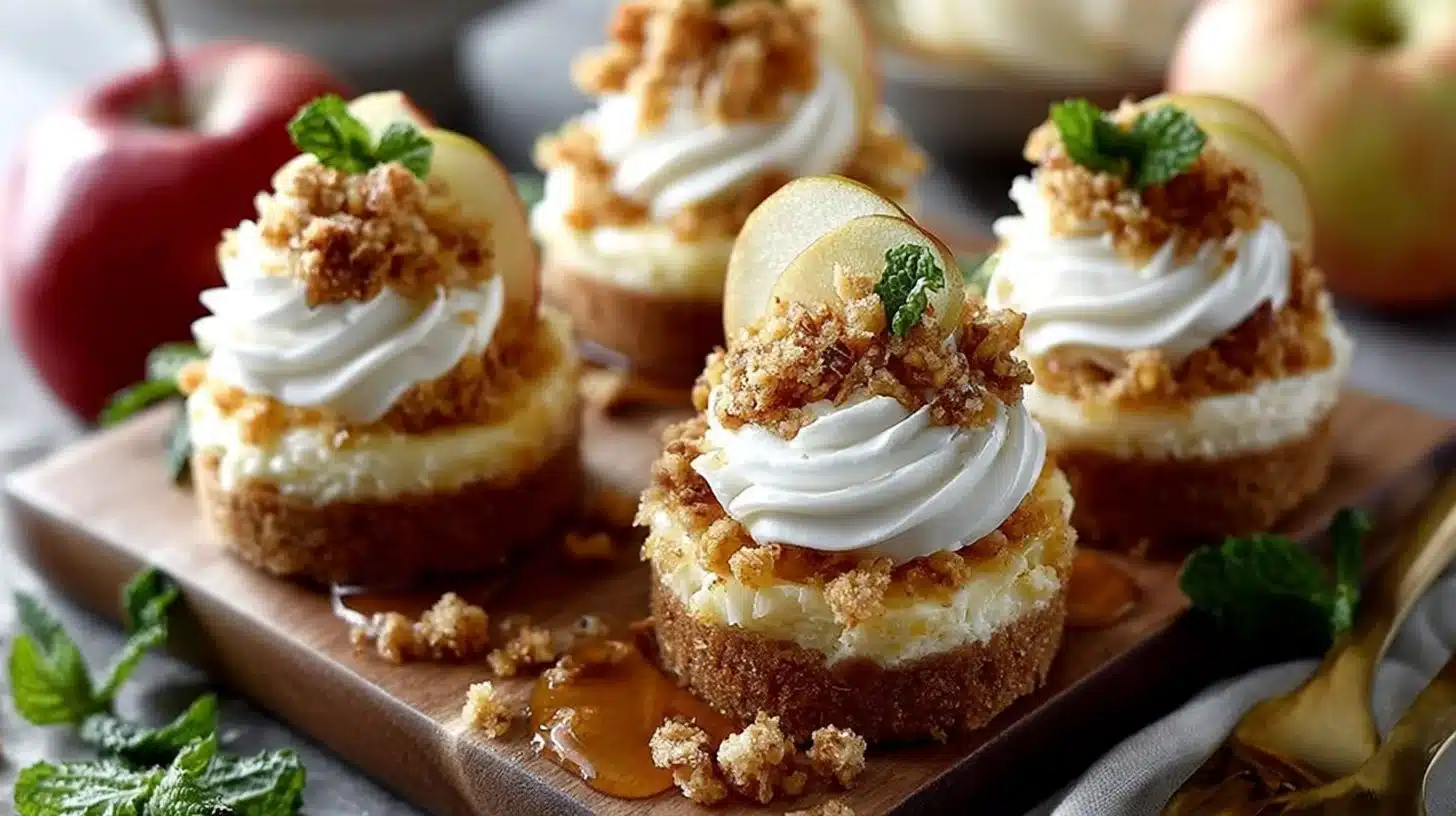
Apple Crisp Mini Cheesecakes are a delightful twist on two classic desserts. Imagine the creamy texture of cheesecake paired with the warm, spiced flavors of apple crisp. These mini treats are easy to make and perfect for any occasion, whether it’s a cozy family dinner or a festive gathering. They’re not only delicious but also visually appealing, making them a hit wherever you serve them. If you’re looking for something different to impress your guests, these cheesecakes are a great choice. You might even consider pairing them with some whipped cream or a light drizzle of caramel sauce. You may also find Air Fryer Bang Bang Shrimp Tacos Crispy Quick useful.
Why You’ll Love This Apple Crisp Mini Cheesecakes
- Perfectly Portable: Mini cheesecakes are easy to serve and eat.
- Rich and Creamy: The smooth cream cheese base provides a satisfying texture.
- Tasty Flavors: The combination of apples, cinnamon, and oat topping adds wonderful depth.
- Simple to Prepare: Requires only a few straightforward steps.
- Versatile and Fun: Customize toppings or flavor variations easily.
- Great for Any Occasion: Ideal for parties, potlucks, or as a sweet treat at home.
What Is Apple Crisp Mini Cheesecakes?
Apple Crisp Mini Cheesecakes are individual-sized desserts that blend the rich, creamy taste of cheesecake with the comforting warmth of apple crisp. Each bite features a smooth cream cheese filling infused with apples and cinnamon, all sitting atop a crumbly graham cracker crust. They are baked until just set, giving them a slightly chewy edge, while still being soft inside. Whether you’re enjoying these for a weekend brunch or a weeknight dessert, they deliver a delightful way to indulge in comforting flavors.
Ingredients for Apple Crisp Mini Cheesecakes
For the Base
- 1 cup graham cracker crumbs
- 1/4 cup unsalted butter, melted
For the Cheesecake Filling
- 2 cups cream cheese, softened
- 3/4 cup sugar
- 1 teaspoon vanilla extract
- 2 large eggs
- 1 cup chopped apples
- 1 teaspoon cinnamon
For the Topping
- 1/2 cup oat topping (oats, brown sugar, butter, and cinnamon)
Ingredient Notes (Substitutions, Healthy Swaps)
If you’re looking for substitutes, consider these suggestions:
- Graham Crackers: Use crushed digestive biscuits or even gluten-free crackers for a gluten-free version.
- Cream Cheese: Neufchâtel cheese can be a lower-fat alternative.
- Apples: Any variety will work, but Granny Smith or Honeycrisp add a nice tartness and sweetness.
- Butter: Coconut oil can replace butter for a dairy-free option.
Step-by-Step Instructions
Step 1 – Prepare the Oven and Muffin Tin
Preheat your oven to 325°F (163°C). Grease a muffin tin or use paper liners to make removing the cheesecakes easier.
Visual cue: This helps ensure even baking.
Step 2 – Make the Crust
In a bowl, mix together the graham cracker crumbs and melted butter until combined. Then press this mixture firmly into the bottom of each muffin tin cup to form the crust.
Pro cue: Aim for an even layer to ensure a solid base.
Step 3 – Prepare the Cheesecake Filling
In a separate bowl, beat the cream cheese, sugar, and vanilla extract until smooth and creamy. This step ensures your filling is well-mixed and light.
Step 4 – Add Eggs and Fruits
Add the eggs one at a time, mixing thoroughly after each addition. Gently fold in the chopped apples and cinnamon for flavor.
Step 5 – Fill the Muffin Tins
Pour the cheesecake mixture over the prepared crusts in the muffin tins, filling each about 3/4 full.
Visual cue: Avoid overfilling to prevent spilling over during baking.
Step 6 – Add Topping
Sprinkle the oat topping on each cheesecake for added crunch and flavor.
Step 7 – Bake
Place the muffin tin in the oven and bake for 20-25 minutes or until the tops are firm and the centers are slightly jiggly.
Pro cue: Check for doneness; they will continue to set after cooling.
Step 8 – Cool and Serve
Allow the cheesecakes to cool completely in the pan before removing. Serve chilled or at room temperature.
Pro Tips for Success
- Room Temperature Ingredients: Ensure cream cheese is at room temperature for easy mixing.
- Don’t Rush the Cooling: Letting them cool properly avoids cracks.
- Use a Toothpick: Check doneness by inserting it; it should come out clean or slightly sticky.
- Mix Gently: Avoid overmixing once the eggs are added to prevent excessive air, which can cause cracks.
- Chill Before Serving: Refrigerating them for at least a couple of hours helps them set nicely.
Flavor Variations
- Caramel Swirl: Drizzle caramel into the filling before baking for a rich twist.
- Pumpkin Spice: Add a little pumpkin puree and pumpkin spice for a seasonal change.
- Nutty Topping: Mix chopped nuts into the oat topping for added flavor and texture.
- Chocolate Chips: Fold in some mini chocolate chips for a sweet surprise with the apples.
- Fruit Compote: Top with a fruit compote instead of oat topping for a fresh fruity layer.
Serving Suggestions
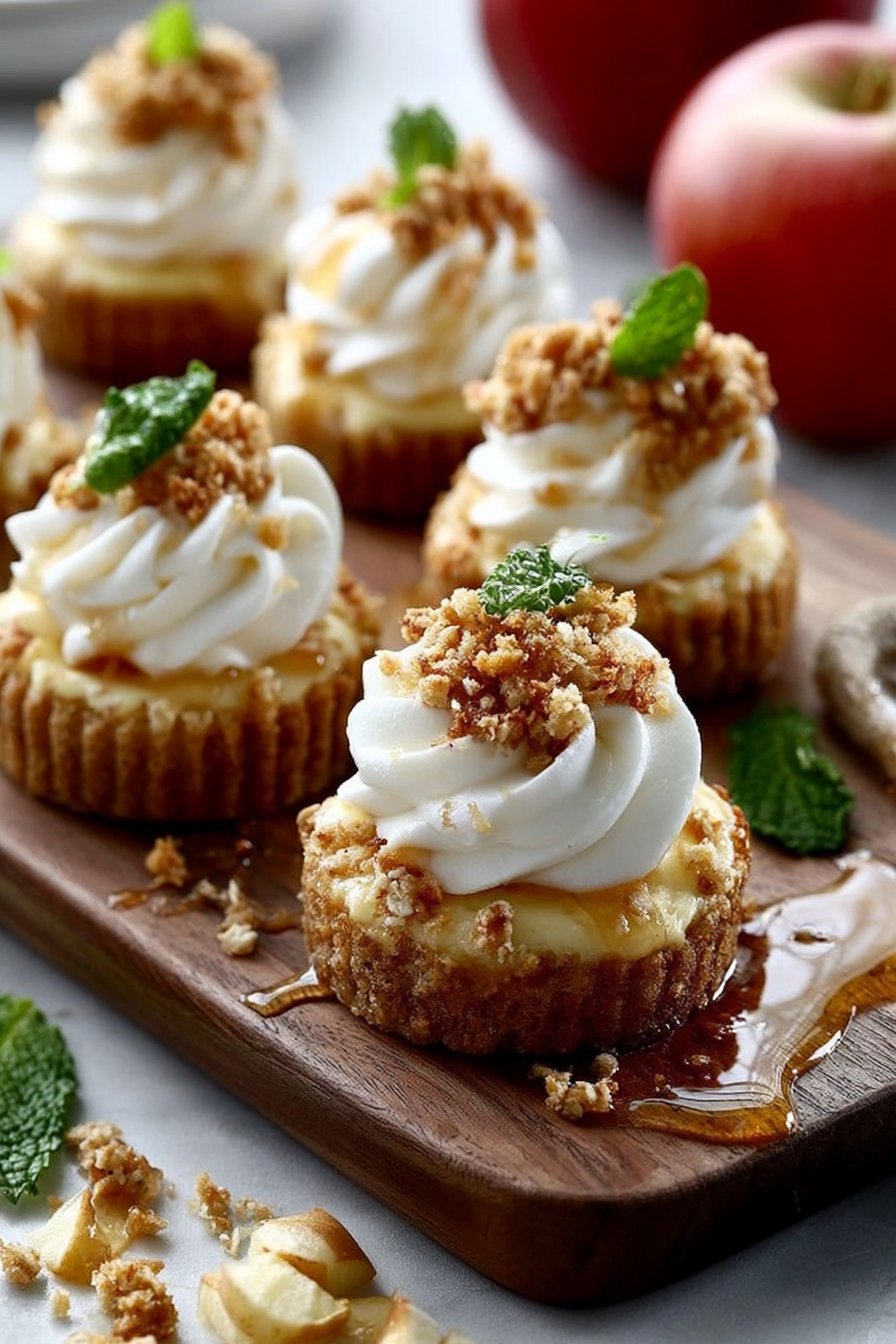
- With Fresh Cream: Top with whipped cream for extra indulgence.
- Garnish: Dust with cinnamon or powdered sugar for a beautiful presentation.
- Coffee Pairing: Serve alongside a strong coffee or espresso for great flavor balance.
- Fruit Slices: Add a few slices of fresh apple on the side.
- Layered Dessert: Stack two mini cheesecakes with whipped cream in between for an impressive look.
Make-Ahead, Storage & Reheating
You can prepare the crust and filling ahead of time. Store the unbaked cheesecakes in the fridge for up to a day. Bake them fresh when you’d like to serve.
- Storage Duration: These cheesecakes last about 3-4 days in the fridge when stored in an airtight container.
- Reheating: Enjoy them cold, or let them come to room temperature before serving.
Storage and Freezing Instructions
While the texture is best enjoyed fresh, you can freeze these cheesecakes for longer storage. Place them in an airtight container, separated by parchment paper, and freeze for up to two months. To serve, thaw in the fridge overnight before enjoying. Avoid freezing unrefrigerated desserts to maintain texture.
Nutrition Facts (Per Serving)
| Calories | Protein | Carbs | Fat | Fiber | Sodium |
|———-|———|——-|—–|——-|——–|
| 210 | 3g | 32g | 9g | 1g | 150mg |
Estimates vary by brands and portions.
FAQ About Apple Crisp Mini Cheesecakes
Why are my cheesecakes too thick?
If they are too dense, they may need more mixing or a bit more cream cheese.How do I know when they are done?
They should be firm to the touch and slightly jiggle in the middle.Can I use other fruits?
Yes, berries or pears work well and add their unique flavors.What if they’re too watery?
It’s important to drain any excess liquid from the fruit before mixing to avoid this.How can I store leftovers?
Store in an airtight container in the fridge for freshness.Can I double the recipe?
Yes, just increase the quantities and use a larger baking dish or more muffin tins.
TastyInspo Notes
- Consider experimenting with flavored cream cheese, such as vanilla or caramel, for a twist.
- A sprinkle of chopped nuts on top can elevate the texture and flavor.
- Using mini muffin tins instead of regular ones can give you bite-sized treats that are perfect for parties.
- Serve these mini cheesecakes on a festive platter for a delightful display.
Troubleshooting
- Burning: Make sure to check them at 20 minutes to avoid overbaking.
- Too Sweet: Reduce the sugar for a less sweet flavor, especially if you’re using sweet apples.
- Cracks: Ensure even mixing and avoid overbaking to prevent cracks on the surface.
- Watery Filling: Drain excess liquid from the apples before folding them in.
Final Thoughts
Apple Crisp Mini Cheesecakes bring together the best of both worlds: the comforting flavors of apple crisp and rich cheesecake. They are easy to make and are sure to impress your family and friends with their delightful taste and presentation.
{image_template}
Conclusion
For an exquisite dessert that combines the freshness of apples with the richness of cheesecake, check out these incredible Apple Crisp Mini Cheesecakes.